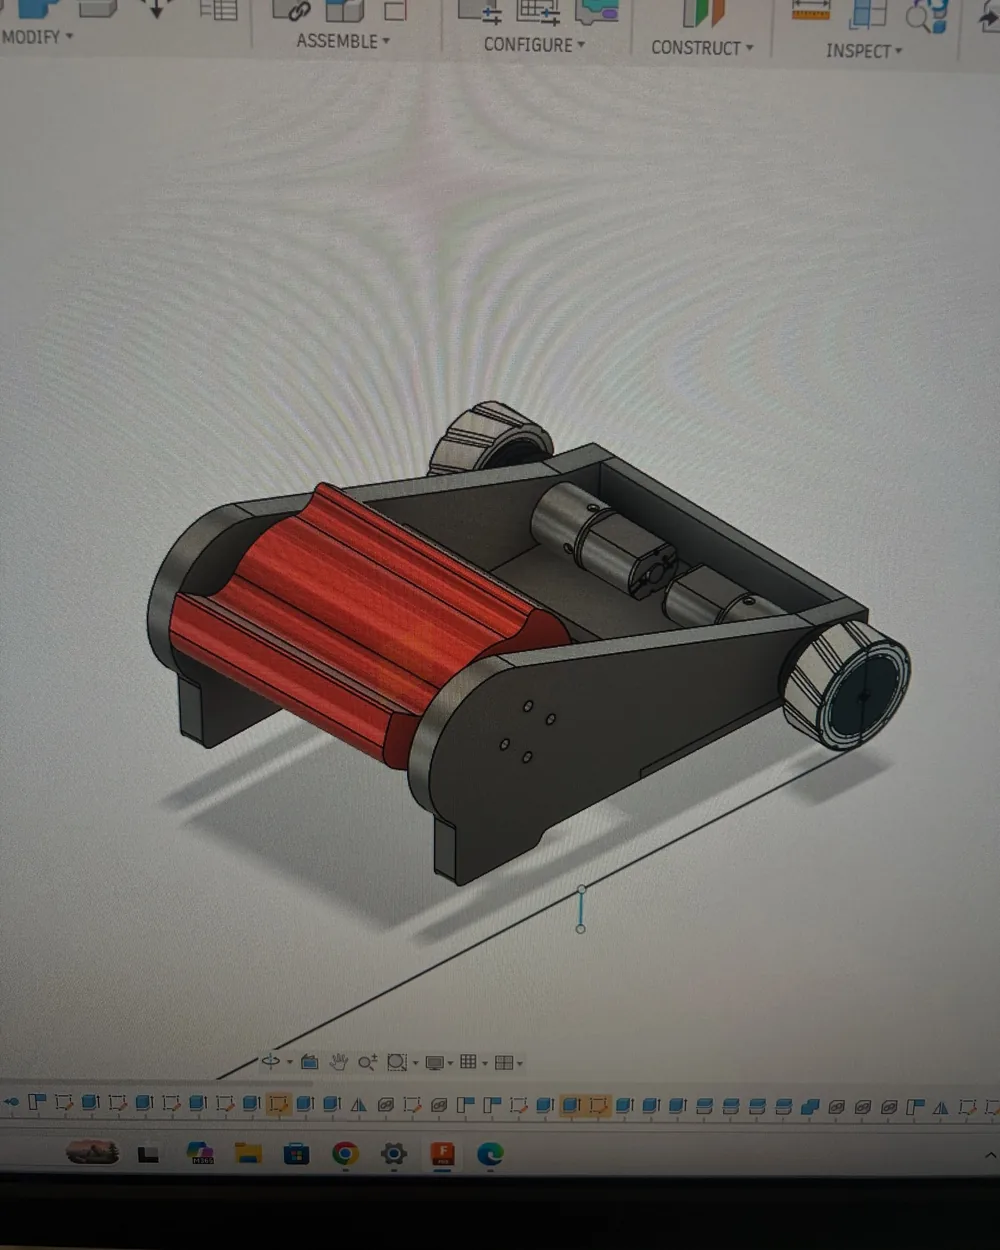
Start in CAD
Model the part, print a prototype, and check the fit before committing to a final version.
The build
We're in the second year of the club, and this is the 2026–27 robot: a 3D-printed combat bot with a drum, four wheels, and a lot of test fits. Here's what's done and what's still changing.
In progress.
Match dates will be posted on @rv.robotics.
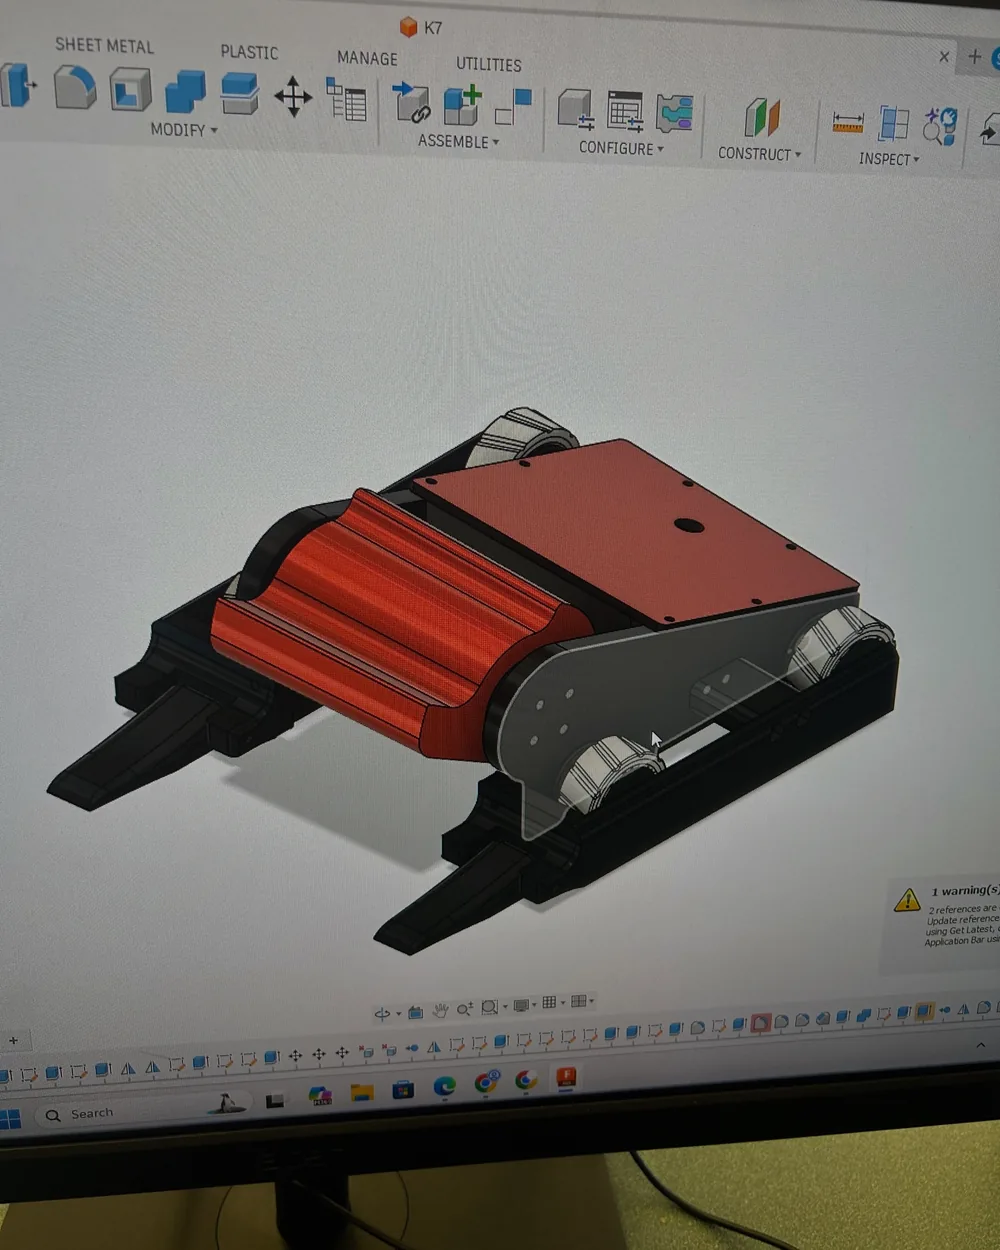
Current build
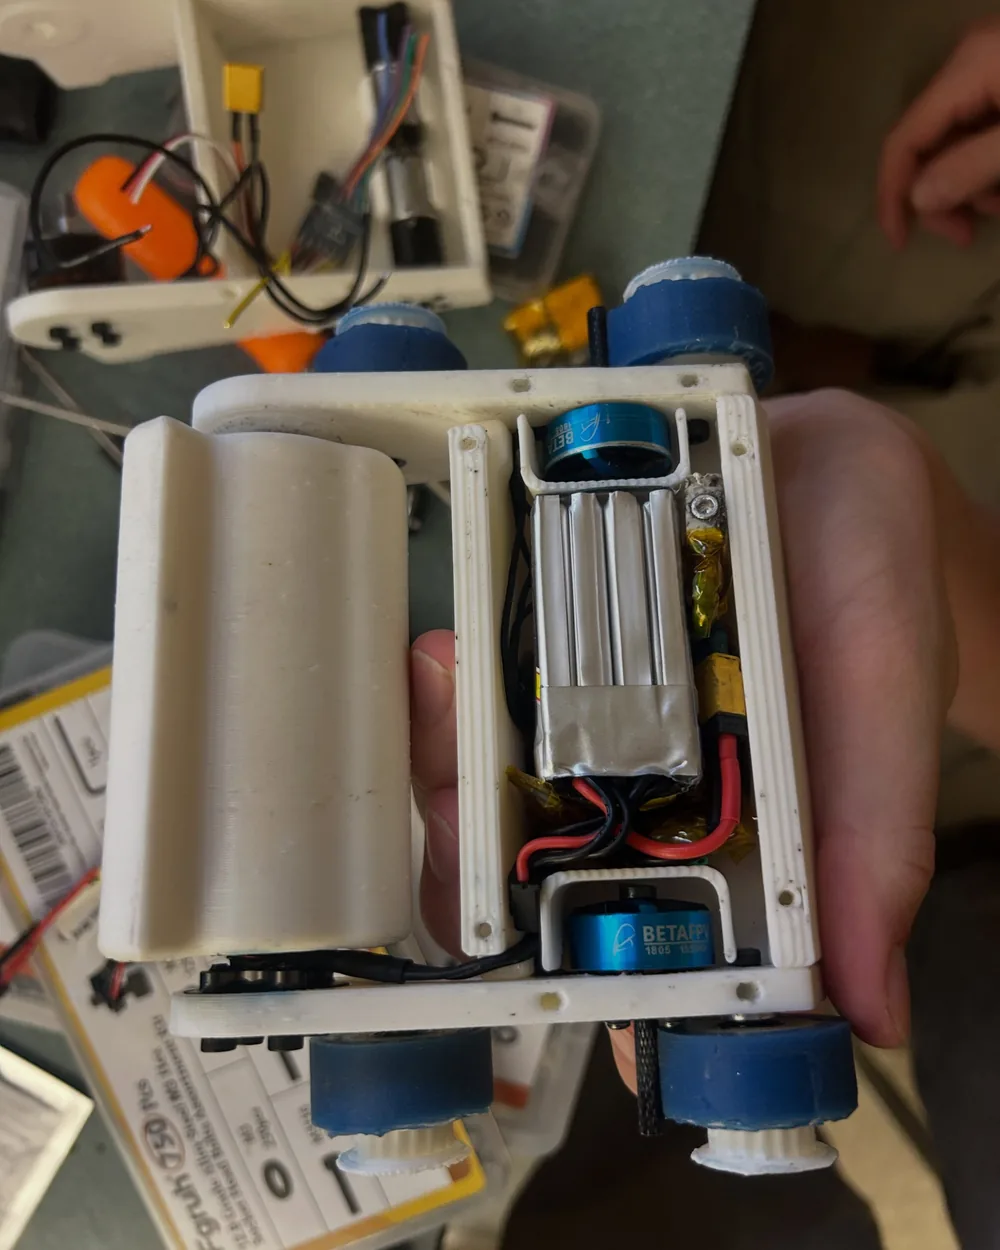
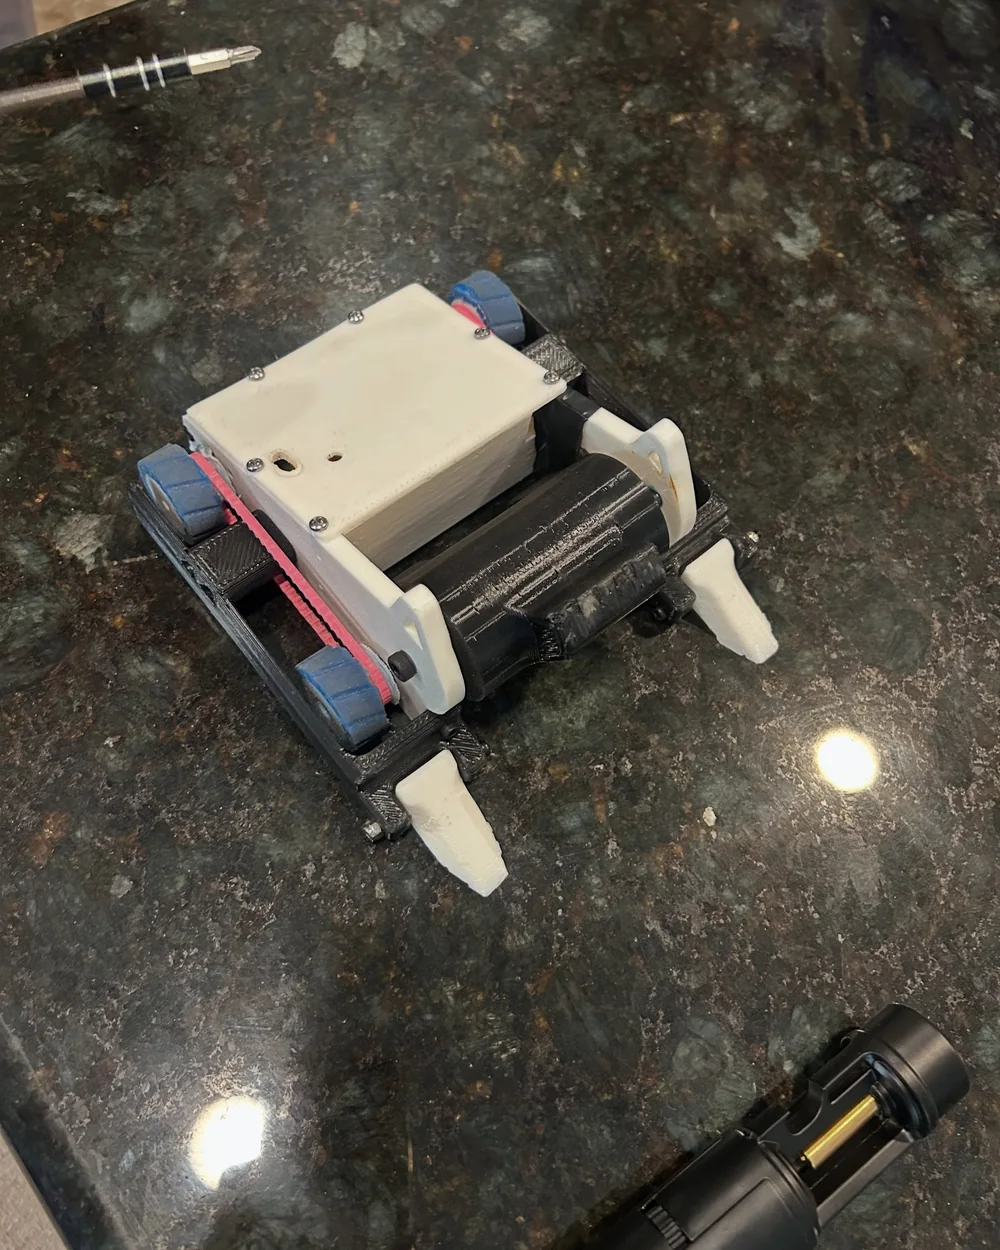
The robot is built around a 3D-printed chassis with a black drum, four blue wheels, and removable white armor. It fits in your hands, which makes it easy to carry to the test table and easy to take apart when something breaks.
Some of this will change before the next match. That's the point.
Open the 3D CAD viewerHow it gets built
Most of the work happens in small loops. A part gets modeled, printed, checked, and changed again.
Model the part, print a prototype, and check the fit before committing to a final version.
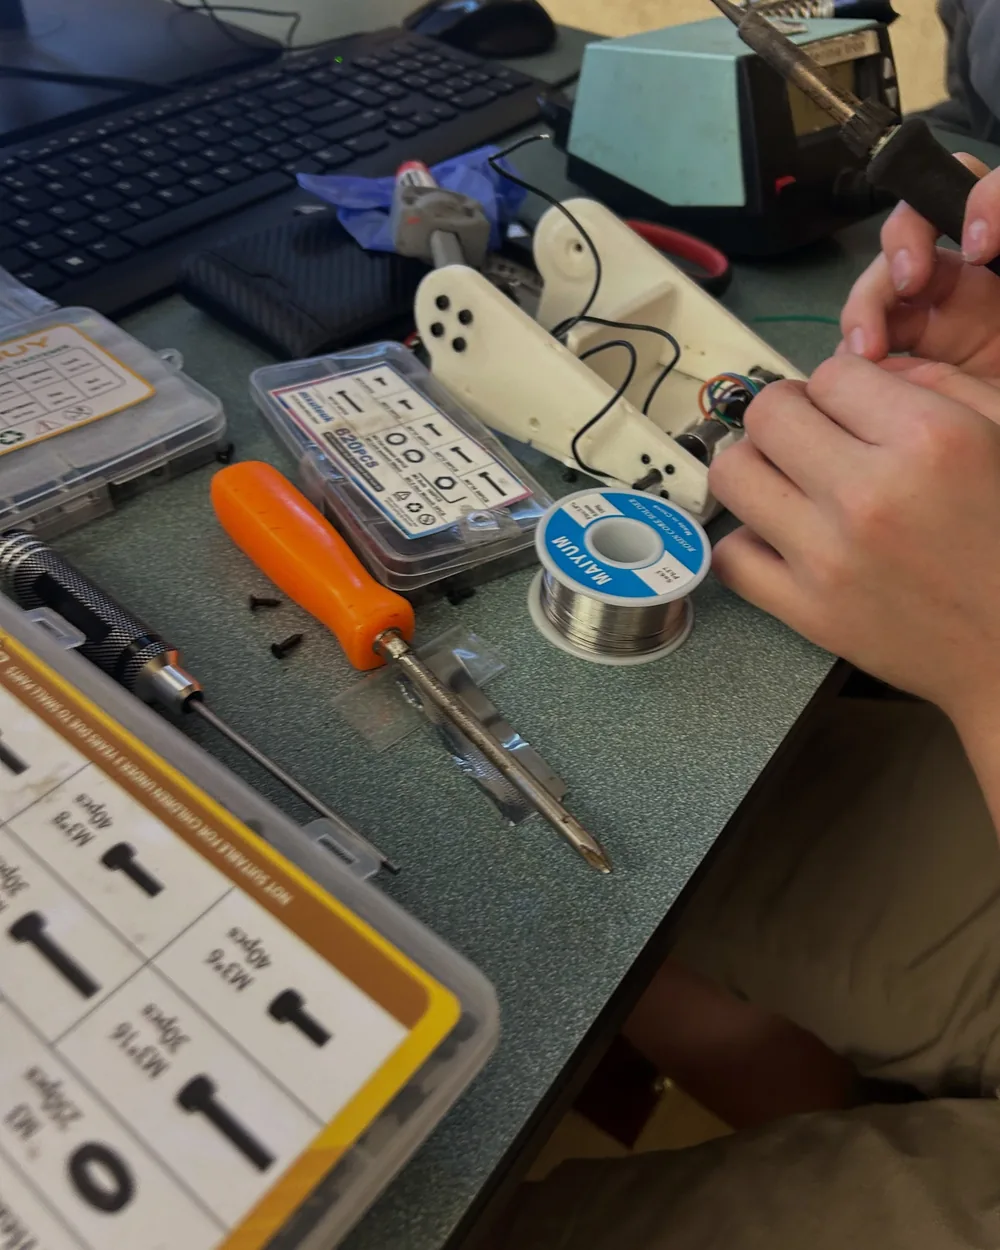
Solder the electronics, route the wiring, and test one system at a time.
Practice, find the weak point, print a new part, and go again.
On the bench
Safety glasses on. Training before tools. No powered tests without a check. The robot can wait; nobody gets hurt.
Get involved
Parts, tools, and entry fees all cost money. Sponsors make the season possible and can get their name on something students built.